
Not long ago I posted a photo of some tiny bowls I had made for an upcoming swap on my Facebook page. I promised to post a description of how they were made here.
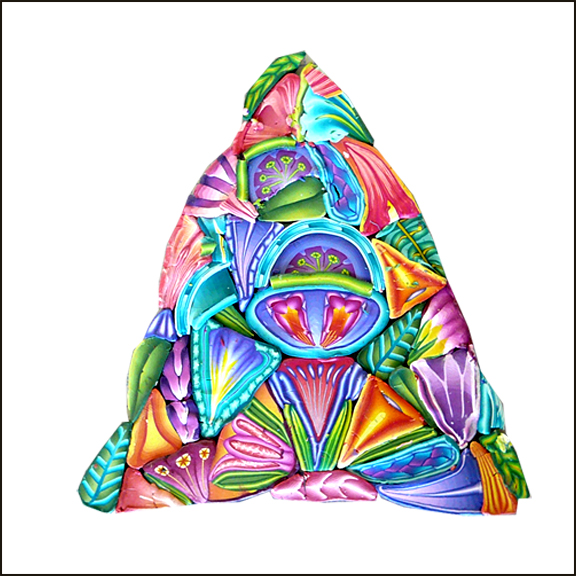
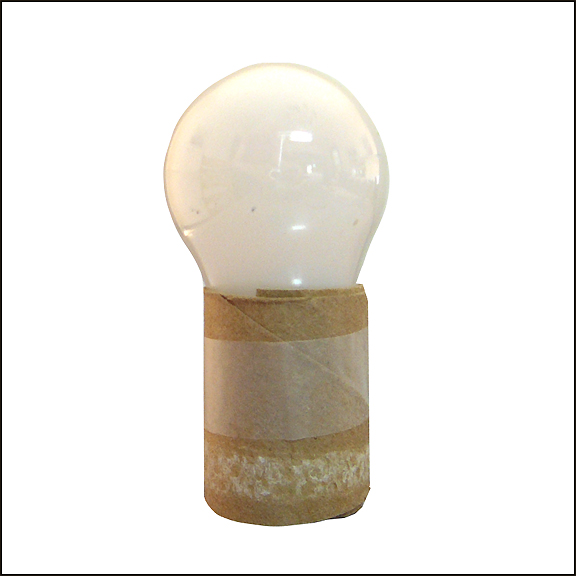
The only guideline we were given was to form the bowls over an #A15 appliance light bulb (about 2 inches in diameter) so they could be stacked one inside another. I decided I would use kaleidoscope designs, but I didn’t have a cane large enough to produce enough slices for all the bowls, so I had to start by making a Master Cane. I made a bunch of individual component canes, took slices off the tops, and put the slices together to make a “plan” for the master cane.
 After the Master Cane was built and reduced, I cut it into slices to use for the bowls. I tested different thicknesses of clay and settled on 3/32 inch (one and one-half revolutions of my slicer knob). At this thickness the bowls held their shape but still looked and felt delicate.
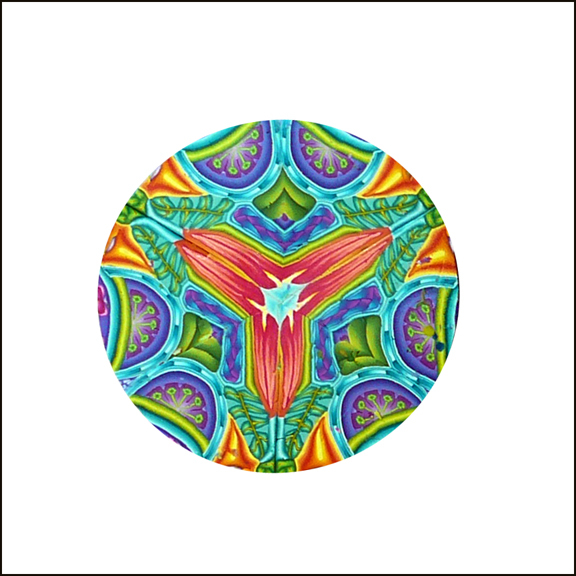
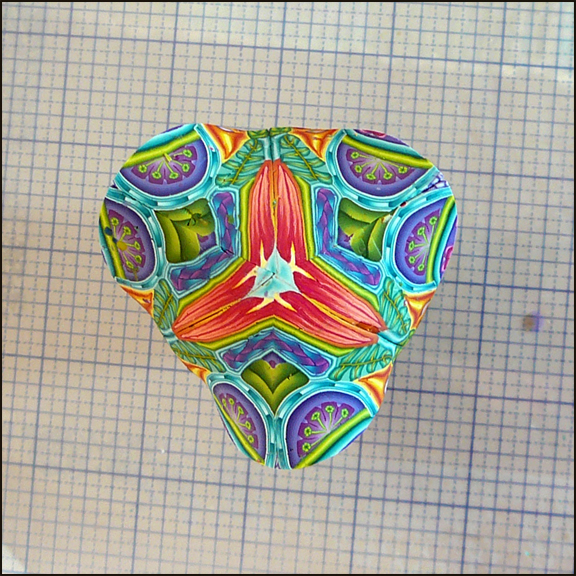
Next I made a series of one-of-a-kind kaleidoscope designs. They were 2 1/2 inches in diameter. Here is an example:
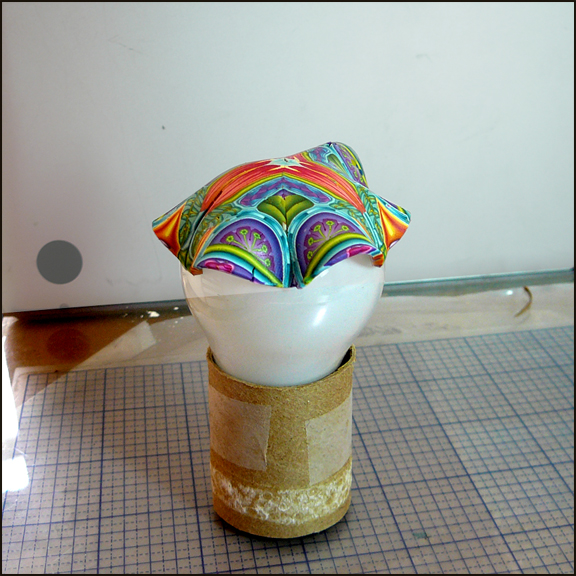
 I then made several cardboard sleeves to hold the light bulbs upright.
 After that I lifted each clay circle and positioned it so it was centered over the center of a light bulb.
 The next step was the trickiest part of the project. I had to mold the clay sheet to fit against the light bulb. Because the circumference of the clay circle was greater than the circumference of the light bulb I had to “shrink” the outer edges of the clay. That meant pressing the clay together bit by bit around the entire circumference of the light bulb. I began by “tacking” the clay down in three equally spaced locations to ensure that the design would be spread symmetrically around the light bulb.

I repeated this in three additional spots.
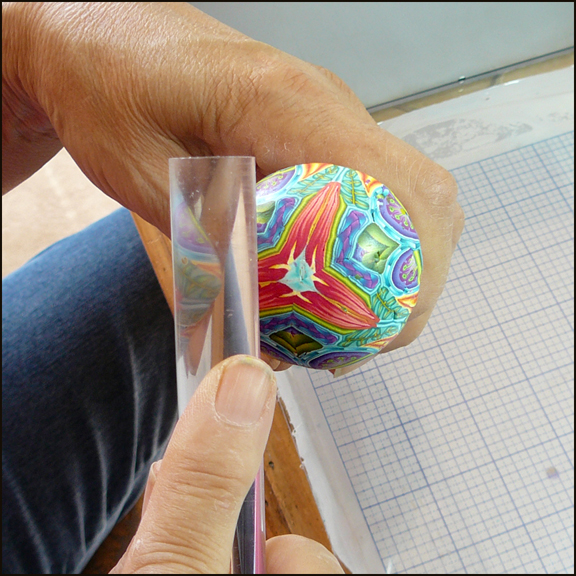
 Finally, I gently pushed the clay between the “tacked down” spots together until the clay followed the contours of the light bulb. Once the entire sheet of clay was pressed against the bulb I rolled an acrylic rod over the surface to fuse the joints and press out any air bubbles.
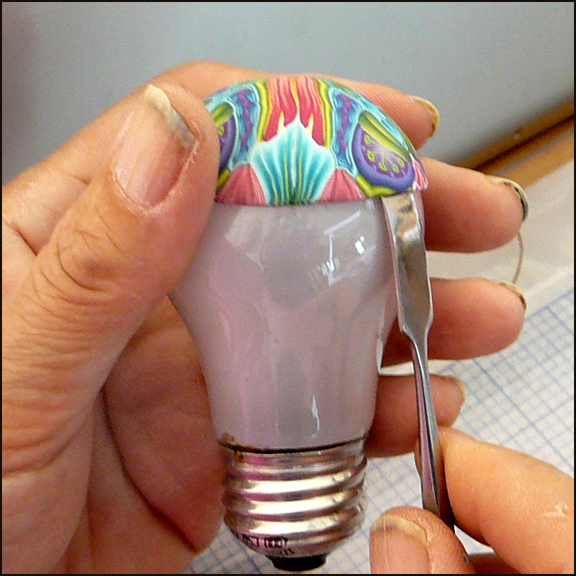
 The edges were a bit uneven when I was done, so I trimmed off small bits with a blade until they were straight. The last step was to press the bottom of the bowl against my work surface to produce a flat base to keep the bowl level.
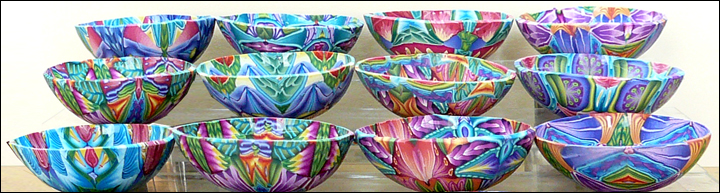
When several bowls were ready I baked them for about 40 minutes in my convection oven. After they had cooled down I carefully slipped a curved wax-carving spatula between the perimeter of the bowl and the bulb to loosen the bowl. Once loosened, the bowls popped right off. They are about 2 inches in diameter and 5/8 inch deep
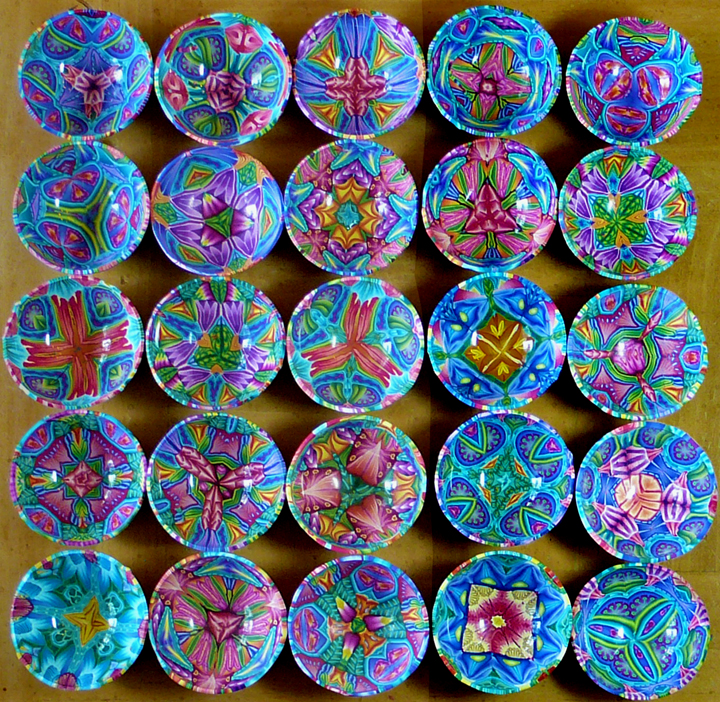
The insides of the bowls picked up the glassy surface of the bulbs but the rims and outsides were a bit rough so I sanded them until they were smooth. Here are 25 of the 26 bowls.
What a fun project! If I were to do this again (without the constraints of the swap) I would use a larger bulb so the sides would flare out more to make it easier to see the complete design in the interior of the bowl.